8 Mar 2018

Tiny Pikachu Amigurumi

For my sons birthday party he wanted to have some Pokemon to use in a treasure hunt so I went to Pinterest to find all my Pokemon pins. I ended up making these little guys: 


but after making a tiny reindeer I knew I wanted to try a smaller one...trouble is I couldn't find a pattern I liked. So I had to make one up. 


The end result was a little guy small enough to be added to a keychain, or to be used as a charm on a bag. Scroll down to find my pattern. I've made it twice now, but if you find any problems please let me know. Feel free to use the pattern, but please credit back if you share.


Mini Pikachu
2.5mm and 1.5mm hook
4ply wool in yellow, brown and black
6mm safety eyes (or black felt)
red felt
embroidery floss for sewing on mouth and nose
hardware for making into a keychain if desired

sc - single crochet
inc - increase (2sc in one stitch)
dec - decrease (1 sc over 2 stitches)
MC - magic circle
ch - chain


Head-body: 2.5mm hook
Rnd 1: 6 sc in magic circle
Rnd 2: (inc) repeat 6 times [12]
Rnd 3: (sc in next st, inc) repeat 6 times [18]
Rnd 4: (sc in next 2 st, inc) repeat 6 times [24]
Rnd 5: (sc in next 3 st, inc) repeat 6 times [30]
Rnd 6-9: sc in all st around [30]
Rnd 10: (sc in next 3 st, dec) repeat 6 times [24]
Rnd 11: (dec) repeat 12 times [12]
insert 6mm safety eyes between rows 7 and 8 with 4-5 stitches in between them.
Rnd 12: (sc in next st, inc) repeat 6 times [18]
Rnd 13: sc all st around [18]
Rnd 14: (sc in next 2 st, inc) repeat 6 times [24]
Stuff head
Rnd 15-18: sc in all st around [24]
Rnd 19: (dec) repeat 12 times [12]
Stuff.
Rnd 20: (dec) repeat 6 times [6]
Close the hole. Fasten off and wave in the end.


Ears: 1.5mm hook. Make 2
Rnd 1: 4 sc in magic circle [4]
Rnd 2: (inc, sc in next st) repeat [6] change to yellow
Rnd 3-5: sc around [6]
Rnd 6: 2.5mm hook - sc around [6]
Rnd 7-8: 1.5mm hook - sc around [6]
Fasten off leaving long tail for sewing.


Legs: 2.5mm hook. Make 2
Rnd 1: Sc 6 in magic circle [6]
Rnd 2-3: sc around [6]
Fasten off leaving long tail for sewing


Arms: 2.5mm hook. Make 2
Rnd 1: MC sc 5 [5]
Rnd 2-3: sc around [5]
Fasten off leaving long tail for sewing


Tail: 1.5mm hook (the tail is done flat rather than in the round)
Brown
- ch4, turn
- sc3 starting in 2nd chain from hook, ch1, turn
- sc3 changing to yellow, ch2, turn
- starting in 2nd chain from hook, sc2, ch1, turn
- sc2, ch3, turn
Finish off and sew in the loose ends.
I leave a long tail of brown at the start for sewing the tail on, and if long enough, for sewing the 2 stripes across Pikachu's back. These are between the tail and head and the bottom one is slightly longer.


Sew together. I do the legs, then arms, then ears. Cut small circles of red felt for the cheeks and glue in place. Sew on mouth and nose with the embroidery cotton.


If you are adding a chain start with your thread knotted at the bottom and go up through the body (with a long needle). Each time you come back to the bottom do another knot to keep it in place. I start by doing a few stitches like this in invisible thread, then over the top in wool and it's proved quite strong.


22 Feb 2018

Tiny Reindeer Amigurumi

I saw this guy and had to make him! I was looking for a little present for my daughters teacher and thought a little christmas decoration would be good as she appreciates handmade things. I got the pattern from Pinterest which linked me to this patten on amigurumi.today.

It certainly was fiddly, especially the legs and antlers as they are only 6sc around, but the result was super cute. I only realised after making my second one that I was meant to use a smaller hook for the antlers, but I don't think that matters. For the eyes I sewed black beads on instead of using safety eyes. It works OK as they are next to the snout. I tried beads on another project and they sat out to far and looked funny.


Busy...page?

I'm sure you have seen blankets, and soft cubes and such with things for babies to play with. My niece had a thing about opening and closing clips so I made a small page with clips down one side, and a few other play things on the other side. Zips are always fun. I made sure to add a little ribbon th the dress zip as it can be hard to grasp the little tab. The 'teeth' are toggles that you have to squeeze to move along the cord. I think she had a bit of fun with it. 

The binding was leftover from my daughters quilt many years ago and was all ready to add on. The yellow background is some material I used for a cushion and nice and sturdy. The buttons are just for decoration.

Swim Bag and Book Bags

When I saw this Pokemon fabric I just knew I had to get it and make things for my son. First I made him some pyjama pants and added a pocket to a singlet to match, and with the leftover I thought I'd make a swim bag. A while ago I purchased some iron on vinyl and wanted to have a go. 

As I put it on both sides to make it totally waterproof it made the fabric very stiff (seems like a no-brainer). This meant that I had to add a piece of regular fabric to the top for the drawstring otherwise there was no way it would draw closed.

I made it have a box shape bottom so it would stand up and added some nice long straps so it can be worn as a back-pack. I used loops of strapping at the bottom for the straps to thread through (remember to add them while sewing up the bottom).

Over time the bag has been dragged on the ground a little which has worn some of the vinyl off, but it is on year #2 and doing well.


The other school item I made was a couple of book bags for relatives. They tried the store bought ones but asked for replacements when they fell apart. I think the combination of having two layers, the outside one being a strong drill, means they last a bit longer. I also painted the kids names at the top instead if having a pocket for the name tag as the name pocket got torn off my son's one.


6 Sept 2017

Birthdays 2016

So much to catch up on with all sorts of different things made over the last year. I'll start with the kids birthdays from 2016.

They were each told they could have 2 friends and choose an activity. Chloe went with roller skating and Alex went with indoor rock climbing. Naturally their invitations had to reflect this.

Roller skates for the girls

Mini climbing walls for the boys

The cakes were a different theme though - Pokemon! Alex is obsessed and Chloe likes the cute ones so each child chose a different one for their cake.
Alex chose Latias.
This was just done with a black icing outline and flooded with royal icing.

The base cake of Igglybuff.
The body was made in a 6 inch/15cm tin as we didn't need a big cake.

Chloe chose Igglybuff to match a toy she was given after a trip to Japan


29 Aug 2016

Little Bunny Amigurumi

I love Pinterest!! I found these cute little bunnies and had to make them. The only trouble is the pattern isn't in english, but it was actually easy to work out as it is only single crochets, increases and decreases. 

I made the green one first which was cute, and then the purple one. I ran out of the darker purple and had to use a slightly lighter shade for the ears - that's what I get for using leftover balls of wool. I also think the nose on the purple one is a bit big, so the next one will be smaller. I'm currently working on a super soft baby pink one which my daughter has her eye on.


24 May 2016

TINYCORN!!

These are just tooooo cute! A friend wanted a rainbow unicorn for her rainbow baby but the pattern she originally saw was too big for me to say I'd do it. Then I saw this super cute unicorn by ahooka'migurumi who has some great patterns. This one is in a free e-book of 8 patterns. Well worth looking at.

My biggest issue was getting the right yarns. The white is a baby wool, the tail/mane is cotton (I was able to get a small pack of mini yarns so I didn't have to get 7 50g balls). The tricky bit was the horn/hooves. I tried a few different silver crochet threats but in the end I went with some cross stitch thread. It was a very tricky bit to do as its only3 sc around, but I managed to do it...twice. I also had to try a couple of different eyes but found these at David's Emporium.  
Of course, once I had these 2 I had to make a rainbow turtle friend for them :)  (tiny striped turtle)


Finished chevron blanket

I actually managed to get it all done, all the little triangles finished and all the ends sent in. I had grand ideas of how I was going to join all 4 sections but in the end I did 2 rows of single crochet around each section then single crocheted them together. It's nice and big and super cosy. It's rather heavy but it will be perfect to snuggle under this winter.


16 Mar 2016

Chevron crochet blanket

I wanted to try out a chevron pattern so had a good look through Pinterest. There were some that just looked too difficult, but this one had a cool ridge detail as well that comes about naturally with the pattern. I used this one from Eat, Knit & DIY, though I changed how she fills in the triangles at the ends. I decided to follow the original pattern to keep it all looking uniform. I started just following the pattern size with a view to giving it to Beanies for Babies, but I fell in love with the colours and have ended up making 4 of the pattern and I will join them all into one big blanket.
The pattern for my end triangles mostly follows the pattern so if you've got the pattern sorted this should be easy to follow, but I'll put down how I count it out. I'm going to sc around the edge a couple of times which should make the edges look much tidier. 

The space you are going to fill looks like an inverted triangle with the point at the bottom. From this bottom point count 12 sc up the right side and join the wool and ch1 (this is like the first sc).
Working back toward the bottom point:
sc10, sk1, sc11, ch1 turn
sc8, sk2, sc8, sk1, ch1 turn
sc6, sk2, sc6, sk1, ch1 turn
sc4, sk2, sc4, sk1, ch1 turn
sc2, sk2, sc2, sk1, ch1 turn
sc1, sk1, sc1, slst1, finish off


Birthday Calendar


I've seen this all over Pinterest and so had to make one for myself. The top is a piece of MDF. The letters of 'Family' were purchased at Spotlight. I ended up using cork tiles for the birthday squares which took a bit of effort to cut but were easy to put the screws in to. I got 3 test pots of paint for the squares and added some white to get 3 varied shades of each. I used them to follow family lines...kinda.
Base coats done.
15mm screws were for between the main board and the month names. 10mm screws were for between each birthday square
I opened the top screws into hooks and left them open to add names as needed.
Finished. A piece of ribbon for it to hang from. I purchased a paint pen to write the names which worked really well.

Kindy quilt - Finished!

I actually finished this quite a while ago, and I 'm a bit annoyed that I didn't get a better picture of the finished product. It was well received as a leaving gift and I have actually been asked to make more things for another kindy centre. 
The colour in the pic is terrible, but it shows the quilting on the back.
The front after being quilted. The fleece worked really well instead of the batting.
Finished quilt. So nice and snuggly especially after a wash.

Themed Baking

It's quite fun to do baking around a theme. I started with reindeer biscuits for a christmas lunch at Chloe's school I saw these on the Griffins Facebook page and they were really very easy. The noses were M&M's and I drew the eyes and antlers on with chocolate icing in a little bag. 

I also saw these in a Facebook post and had to make them. My husband is a wookie fan and these were also very easy. The kids made regular gingerbread men while I added fur to a couple before cooking with a fork. Then I just had to ice on a face a bandolier with icing. Super cute!
 
Finally, I was presented with a challenge. We were about to watch Wizard of Oz (original of course) and my mother-in-law said we need wizard of oz snacks, to which Alex quickly said Oz cupcakes!! I went for yellow brick road and witches hats. The bottom of the hats were chocolate buttons and I used a large round tip, holding it in place to build up the bottom and then releasing pressure as I pulled up. The kids had a go with the grass tip too and they are getting quite good at it. 

Cakes

I have a few cakes to catch up on here. The first is from over a year ago with my daughters 6th birthday cake. I hired a tin from a cake shop called The Girl on the Swing. I used the star tip for the top and went for a ribbon effect on the sides. the green was left over from my sons dinosaur cake so was a bit more vivid than I would have like.
Edible glitter upped the girly factor

The next was for my mums 60th birthday. I had to make 2 to trial it first as it was my first time doing a layer cake. The top layer was white chocolate, the middle was caramel and the bottom milk chocolate. I chose to mirror this with ganache on the outside. The trial one went to husbands work to some surprised workmates, the second one went just as well and the cake was really quite yummy.
This was the trial cake

Finally we have the birthday cakes from 2015. Chloe wanted a pool cake and Alex finally settled on spiderman. I made a few swimmers and pool items from fondant. The fence was large blocks of  KitKat (which does not break up or cut up well). Chloe made a couple of things to add to the pool too. Her cake was a white chocolate mud cake.
swimmers, beach balls and a towel
Chloe made the flowers and butterflies for around the outside. The white balls were bubbles.
Alex's spiderman cake wasn't too tricky. I purchased the red icing to get a good colour, but I didn't really like the consistency. The web was done with a tube of black icing that I could draw straight onto the cake with. The spider was chocolate melted into a teaspoon and a dessert spoon for the body, and the legs were done freehand onto baking paper. His cake was a dark chocolate cake.
Leftovers!


Little bags

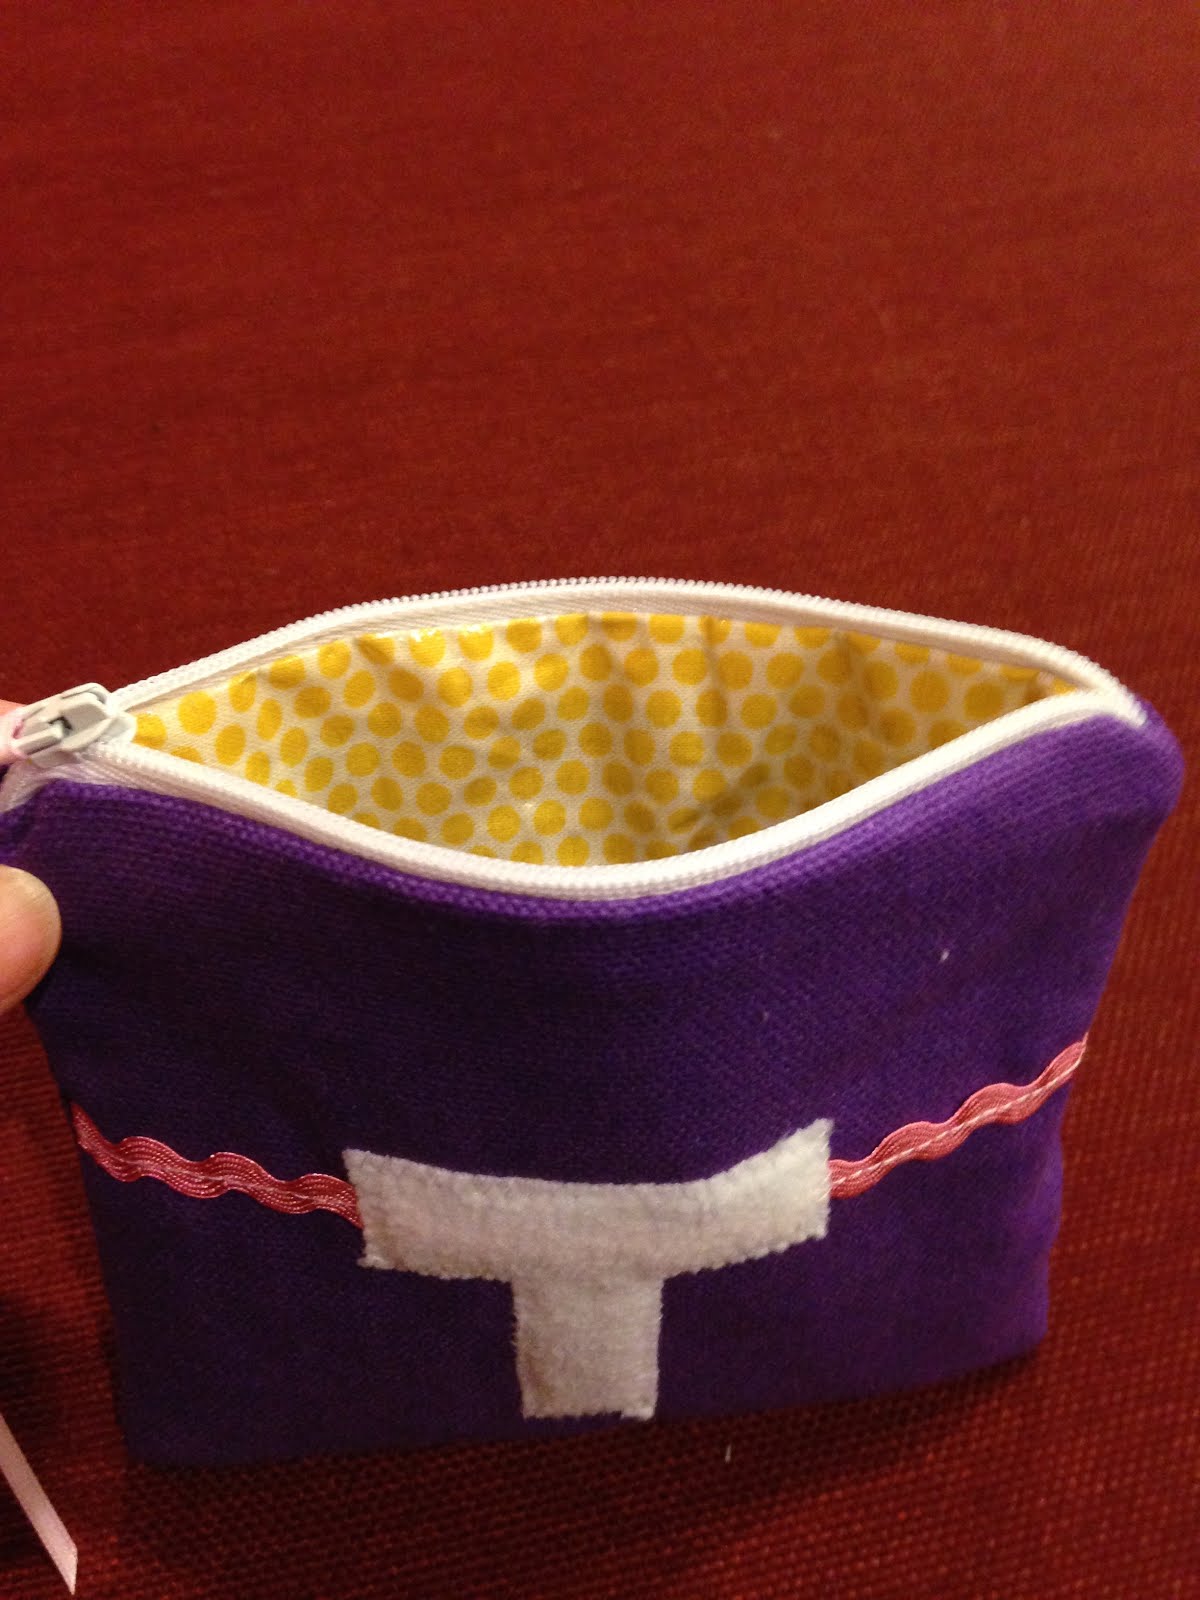
I purchased some iron on vinyl and wanted to play so I made this little bag for my niece. The inside has the vinyl so she can put anything in it and it can just be wiped out. The ribbon on the top is so her little hands can actually open the zip. Little kids love bags to keep things in. 


I needed a quick little gift for my daughters friend and she asked me to whip up this little bag. I had made her the white one for a costume and she uses it lots, so I made the purple one for her friend. Just a simple folded rectangle with a velcro closure. 

9 Sept 2015

Crochet Pugs


These cute little guys were first introduced to me by my husband sending me this link. When I was younger we had 2 pugs, one of each colour, so they had to be made! I used some other patterns I had and kinda made it up and ended up with these cute guys. The lighter one is made with 12ply Acrylic and the black one 8ply wool so the black guy is a little smaller. 

Sooo cute!!

Stack-a-pug
They are in a little pouch ready to be posted to their new home.