14 Nov 2011

Rainbow Invitation


Here's the invitation I made up for the Rainbow Party. Yes, it's a joined party for the kids. I'm gonna try and get away with this as long as I can, which I don't think will be long!


On a side note: 60 posts! It would seem I have too much spare time for crafting, yet there never seems to be enough for the housework...

Rainbow Skirt

So this is the next part of Chloe's Rainbow Party outfit. 


It is a modification of the Market Skirt on dana-made-it. As she suggests, lots can be modified on this skirt. I added a couple more strips and made them a bit thinner. 

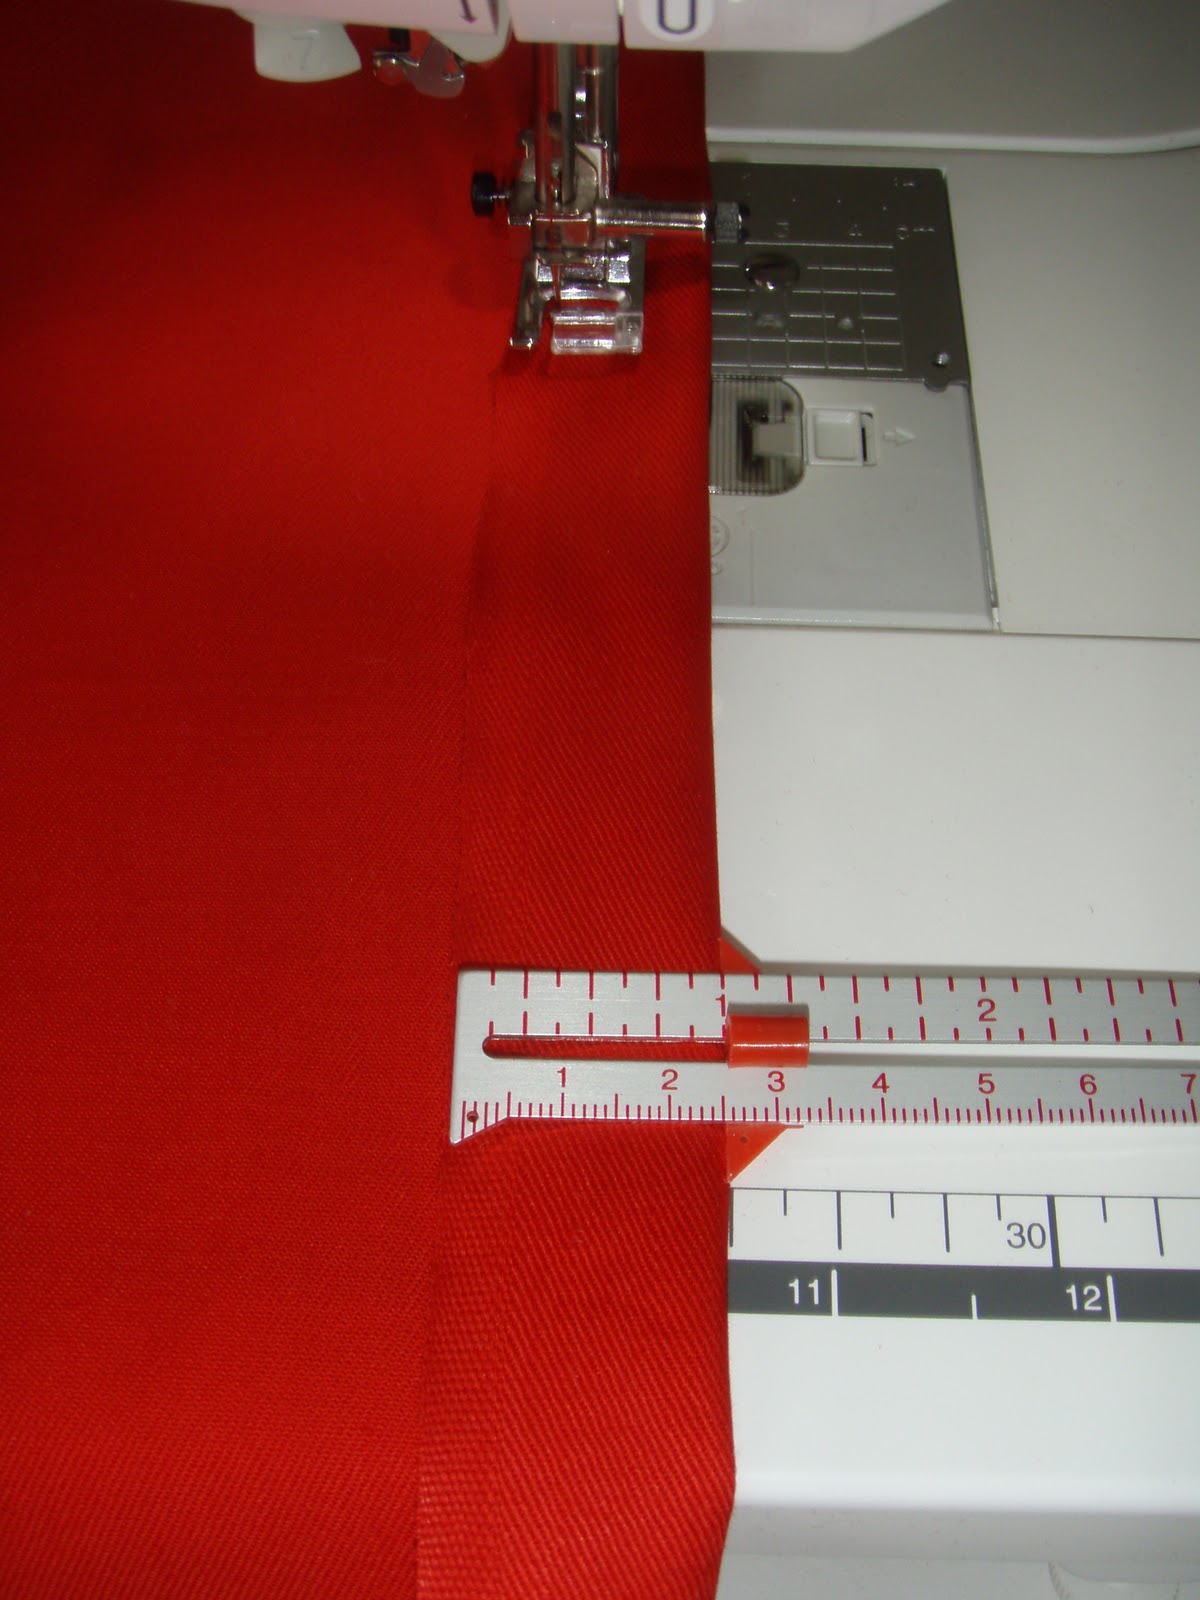
Each strip has 2" showing so I cut them 2 1/2" wide. For the top strip I added an extra 2 1/2" to allow for the elastic casing. For length, I measure Chloe's waist at 20", so cut the red piece at 28". This way I could increase the length by 4" on each strip and not go over my fabric width.
All the details are on the Market Skirt tutorial but here are some photos from putting this skirt together.
Each strip started like the orange one before gathering the top to end up like the green and blue strips. (The colour order is wrong here so some un-picking followed).

After gathering sew each strip to the previous strip, right sides together.

Sew open ends together. It tickles me that when I ironed the seam open the colours stacked like this.

The whole outfit.


10 Nov 2011

Rainbow T-shirts

This idea was from my awesome mum. I have a plan to make a rainbow skirt for Chloe for the Rainbow Birthday Party, but wasn't sure what to do for Alex. I was contemplating using the fabric from the skirt and some Heat n Bond To do a rainbow on a t-shirt for him when mum suggested I just paint one. Brilliant!! Especially as I already have fabric paint. All I needed was a couple of $5 t-shirts from Baby Factory.


I took a rainbow I had made in Photoshop and printed it in black and white. I cut around the outside and traced around it onto the t-shirt with pencil. I then cut off the top strip and traced along the top of the new top stripe. I kept doing this until I had traced each stripe.


Then came the fun part - painting in between the lines. I got the red, orange and yellow done, but couldn't mix a green I was happy with so had to go out and buy another pot, and I got some indigo at the same time cause I just knew I wouldn't be able to mix that either. 


The end result is so cute. (Yes, I did one for Chloe as well).


4 Nov 2011

Cushion mattress - part 2

I finally got around to finishing the cushion mattress. It didn't take very long in the end, just lots of long bits to sew. I started by folding over the selvage edges about 1" and sewing close to the selvage edge. 


I then folded my material in half so that the selvage edges were together, and sewed the ends closed. My sections are going to be 50cm wide so I measured 1m from the middle to get the point where I sewed the ends closed. Then I trimmed the ends and zigzaged.

Fold to a long strip
Sew the ends (hard to see with red thread on red, sorry)
Then I marked every 50cm with a pin. The velcro was cut to 45cm and centered between the pins, and sewn in place.

Then you just turn it right side out and sew the middle divisions.


Fill with cushions and your done :)


2 Nov 2011

Rainbow cupcakes

So, I haven't put any baking on here yet, but I had to share these as they are so cool!!


I have found numerous pictures of rainbow cakes and cupcakes on the internet and decided to give them a go. I have an idea to use them in the kids birthday cake and didn't want to be trying them for the first time the day before the party. I used a basic cupcake recipe (butter, eggs, sugar, flour, milk) and did a half batch to save time (and my waistline).
Spoon the coloured mixtures on top of each other. This was them just before going in the oven.

Straight out of the oven.

Side view.

THE MIDDLE!!
They look very effective with plain white icing on top, but Chloe and I just had to eat one straight away. Next time I'll be careful to put the same amount in each layer, or maybe a bit more in the bottom layers. YUM!